|
BACK TO #448
|
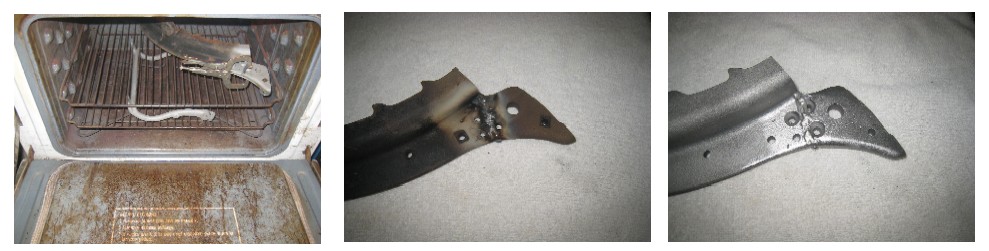
Just before welding I'll pre-heat the pieces. The best way I have is an old oven in my shop; set it at 500F and warm the part up. Pull the part out and start welding as soon as possible with Nickel welding rod. Once the welding is completed I put the piece back in the oven and let the oven slowly cool with the door closed. This will take a couple hours, but cools the cast iron slowly. Cast iron doesn't like rapid heating or cooling. The middle picture shows the part just after welding. The last picture shows the part after sandblasting. This brace repair consumed one nickel welding rod, they run about a $1 each.
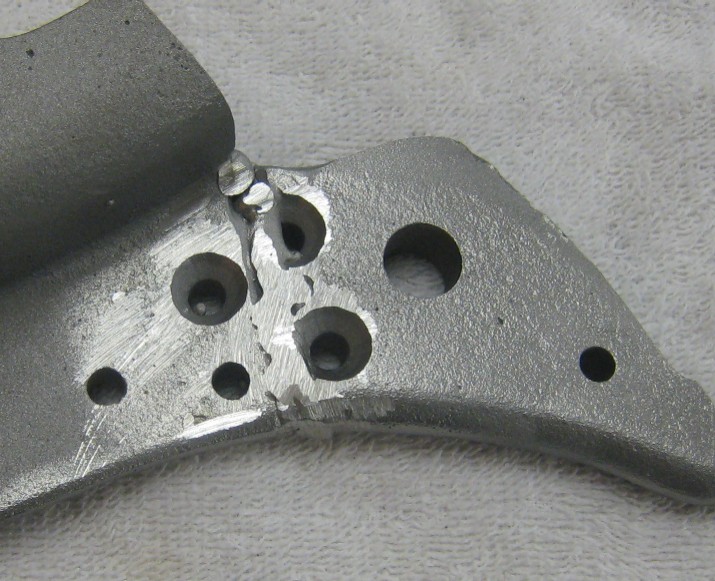
Here is the final metal work on the piece. It's welding, cleaned and ground flat. I'll fill the holes with and epoxy type material, and then put a light layer of plastic filler over this. The repair will not be noticed once it's all painted. The back side of this piece was also ground and welding. It turned out much better looking than this side. All my welds are guaranteed....or I'll weld them again!!!!
|