|
BACK TO #448
|
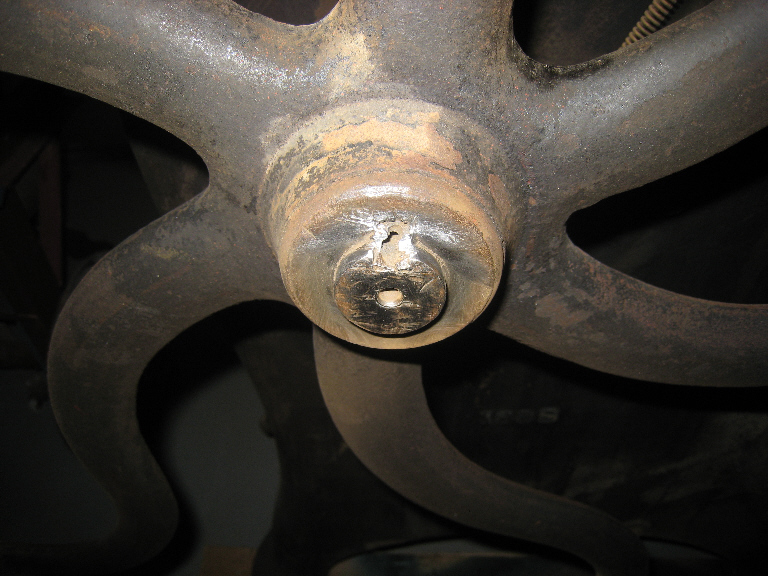
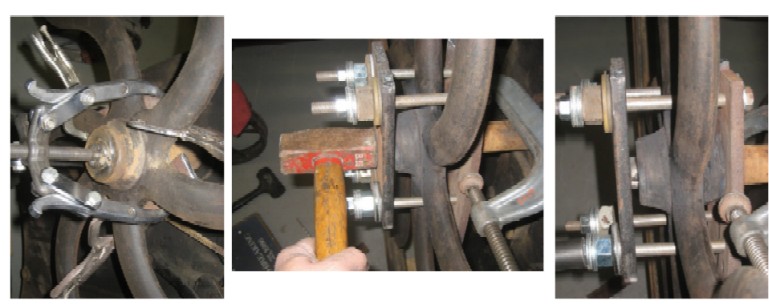
The next five pictures show how I removed the flywheel on #448. The three pictures show the process of just getting set up to try and at least move the flywheel on the shaft. I first tried a simple gear puller type setup to move the flywheel. This is simple, but is limited on it's pulling power. It's not a straight line pull so there is some energy loss. Also you don't want to get to crazy with pulling power since your pulling on the spokes of the flywheel. The spokes are strong enough for some pulling, but care should be taken to make sure you don't over pull. Once I saw this wasn't going to work I moved to making my own puller as shown in the second photo. This type puller has three very nice features. One it pulls straight, no energy loss with this type puller...all straight lines. The second and most important feature is you can hit the center of the puller with a hammer and not damage the puller or the shaft. Hitting this puller while pressure is on the shaft helps a ton!!! The third feature is I made it so it grabs the back of the flywheel shaft and does not pull on the spokes.
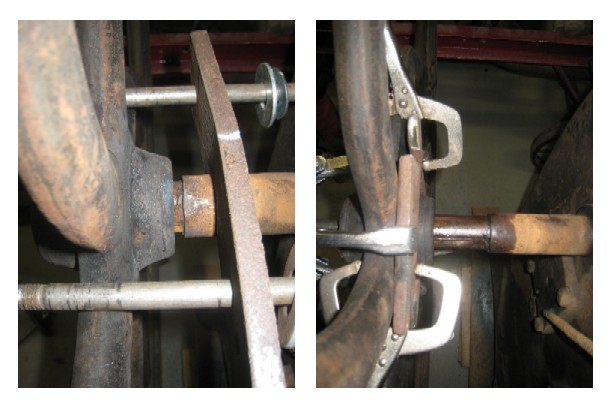
As you can see the flywheel is moving, got about a 1/4" of movement now. BUT, you can also see I'm putting a lot of force on this back plate while pulling. This is just think cold rolled steel, so it will bend with some easy, but trust me there is a lot of force on this puller....the flywheel really doesn't want to come off this shaft. The last photo shows the flywheel almost off. I have now switched back to the gear type puller since the flywheel is sliding off the shaft a little easier now. The gear type puller is must quicker at removing since your only turning one nut instead of four nuts.
|